Background
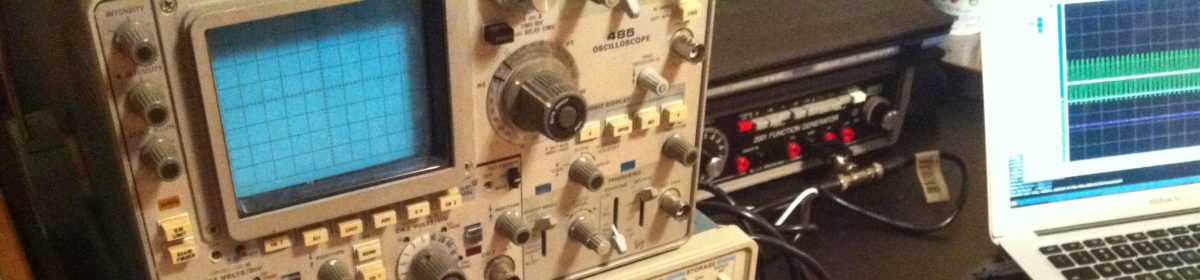
I feel like almost everyone who has had to deal with anything outside the most mundane audio setup on Linux machines has experienced the pain I’m about to describe. On Mac and Windows machines, audio seems to ‘just work’ (TM) (R) (C) — and on linux desktops like Ubuntu it seems to be fine too.
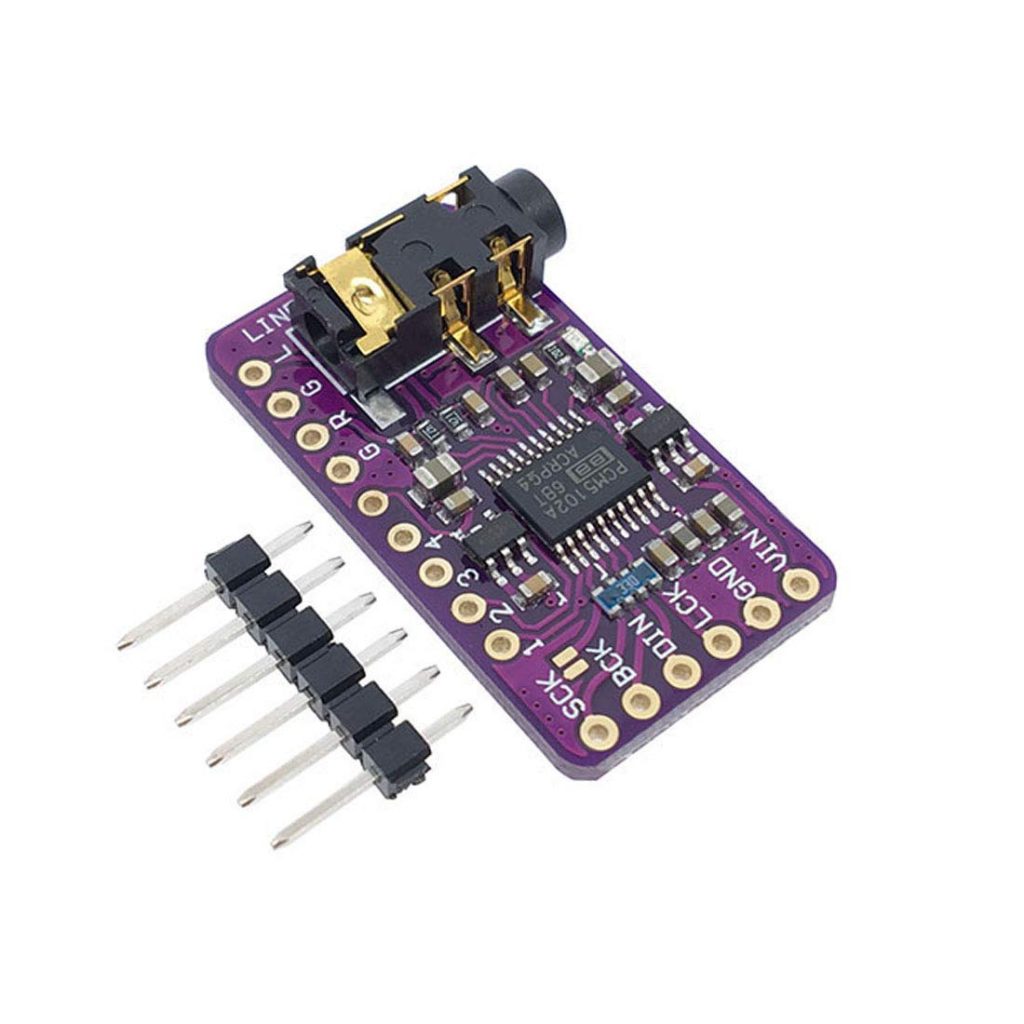
For my UNIAC project however, I went a little off the rails (dun-dun-dun). UNIAC 2.0 uses a Raspberry PI Zero W, which doesn’t come with any onboard analog audio output, forcing me to use a third party sound card. Since the project had a nice backplane motherboard, I wanted a module I could just plop down on the board as if it were a component. Ultimately, I settled on a PCM5102A module like this one, which took audio as I2S samples and cost all of $8. For the final, working version of this, I used Raspbian Buster (July 2019).
As an aside, I created an EAGLE Footprint for the module, so you can incorporate one into your own projects if so desired.
The Solution
To get it all working, we need the OS to do four things:
- Recognize the new I2S sound card.
- Use it by default.
- Provide some software volume control.
- Mix multiple audio streams at once
PCM5102A Drivers
These no-name PCM5102A modules are sketchy at best, and come with no meaningful support and no manual. Fortunately, they use the same IC as the Hifiberry DAC+ project. After getting this thing going I feel somewhat bad for not buying their board, but the form factor is just not what I need.
In theory you can follow the Hifiberry DAC+ setup instructions to get basic output going – but don’t use them if you want software volume control. For me following those instructions resulted in a weird situation where the software volume control didn’t actually stick after reboot, so I recommend staying away.
Volume Control
What did work for me, was a modified version of these instructions. To get basic volume control working, I used the first few steps of those instructions. I’ll duplicate them here in case the site goes down.
Software setup
First we need to disable the onboard sound by editing alsa-blacklist.conf:
sudo nano /etc/modprobe.d/alsa-blacklist.confAdd:
blacklist snd_bcm2835Save and exit (^X, Y, enter).
Now, to set the IO, edit config.txt:
sudo nano /boot/config.txtAdd:
dtoverlay=hifiberry-dacRemove or comment (#) the line:
dtparam=audio=onLeave the line:
dtparam=i2s=oncommented out.
Save and exit (^X, Y, enter).
Next add some alsa (sound) configuration:
sudo nano /etc/asound.confPaste the text below:
pcm.!default {
  type hw
  card 0
}
ctl.!default {
  type hw
  card 0
}
Save and exit (^X, Y, enter).
It is no harm to do a reboot. So:
sudo rebootTest if everything is OK:
aplay -lThis should return:
**** List of PLAYBACK Hardware Devices **** card 0: sndrpihifiberry [snd_rpi_hifiberry_dac], device 0: HifiBerry DAC HiFi pcm5102a-hifi-0 [] Subdevices: 1/1 Subdevice #0: subdevice #0If you have an amplifier you can connect via a phono lead you can now test it via: speaker-test -D -c -twav So:
speaker-test -D default -c 2 -twavThis is a continuous test saying ‘front left’ and ‘front right’ alternately from the appropriate speakers. Enter ^C to stop.
Adding Software Volume Control
This is an optional step that adds a software volume control into the sound processing sequence.
sudo nano /etc/asound.confadd the following:
pcm.sftvol {
   type softvol
   slave.pcm "plughw:0"
   control {
     name "PCM"
     card 0
   }
Enter or change the pcm.!default section to:
pcm.!default {
   type plug
   slave.pcm "sftvol"
 }
Save and exit (^X, Y, enter).
Now we can test it, as before:
speaker-test -D default -c 2 -twavThis should give alternating “front right” and “front left” from the respective speakers.
Great, but what about multiple streams?
Here’s where we go off the rails. We need to add a software mixer to this cozy little ALSA setup. Fortunately, DMIX is a thing. There are a few dmix examples out there. What we need to do, however, is connect dmix to softvol to a PCM sound device. This I could not find documented clearly anywhere on the internet, so here we are.
pcm.!default {
  type plug
  slave.pcm "softvol"
}

pcm.softvol {
  type softvol
  slave {
    pcm "dmix" #redirect the output to dmix
  }
  control {
    name "PCM" #override PCM slider to set softvol lvl globally
    card 0
  }
}
Great, Now What?
To get MOPIDY to work (my ultimate goal here), I had to do two things:
- Install mopidy-alsamixer.
- Edit ~/.config/mopidy/mopidy.conf
In mopidy.conf, I had to change the audio section to this:
#mixer = software
mixer = alsamixer
output = alsasink device=plug:softvol
#mixer_volume =
#output = autoaudiosink
#buffer_time =
And then I added an alsamixer config as follows:
[alsamixer]
card = 0
control = PCM
min_volume = 0
max_volume = 100
volume_scale = cubic
Finally after weeks of pain, I’ve arrived at a configuration that works!